
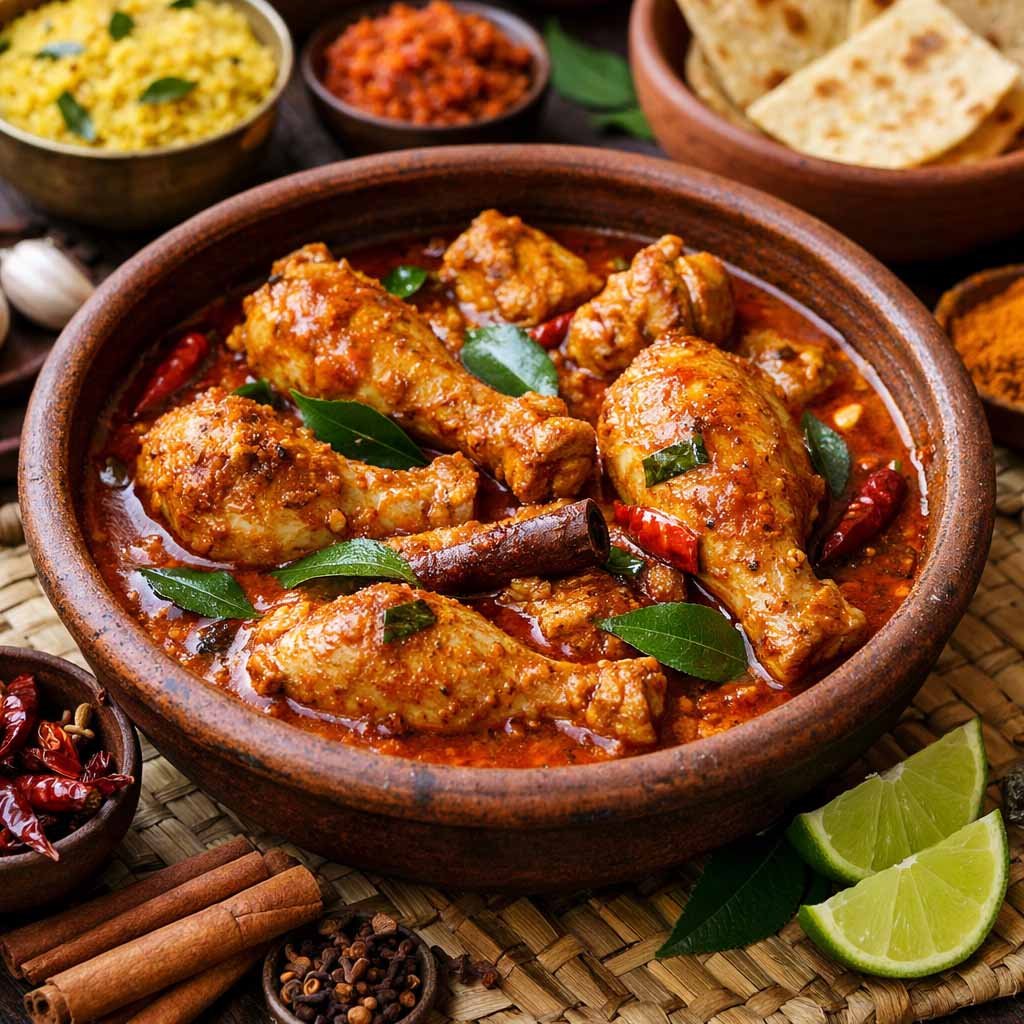
If there is one dish that defines the heart and soul of a Sri Lankan Sunday lunch, it is a rich, red, and unapologetically spicy chicken curry. In Sri Lanka, a chicken curry isn’t just a dish; it’s a sensory experience. The moment the mustard seeds pop, the curry leaves hit the hot oil, and the roasted unthunu thuna paha (Sri Lankan curry powder) fills the kitchen, you know you are about to experience something truly magical.
Every household on the island has its own secret version of this curry. Some prefer it swimming in thick coconut milk, while others like it dry and fiery, coated in a dark, caramelized gravy. After years of watching my mother cook in our traditional kitchen and experimenting with different spice balances myself, I have perfected a recipe that strikes the absolute best balance between deep heat, rich aroma, and creamy texture.
In this ultimate guide, I will take you step-by-step through the process of making an authentic Sri Lankan chicken curry that will make your kitchen smell like a village home.
1. The Secret is in the Spices (The Sri Lankan Toolkit)
Before we look at the cooking steps, we need to talk about the ingredients. You cannot make a real Sri Lankan chicken curry using generic, store-bought “curry powder” from a Western supermarket. The profile of our food relies on specific local elements:
- Sri Lankan Roasted Curry Powder (Badapu Thuna Paha): This is the backbone of the dish. It contains coriander, cumin, and fennel seeds that have been heavily roasted until dark brown before being ground. This gives the curry its characteristic deep color and smoky undertone.
- Ceylon Cinnamon: Unlike Cassia bark, true Ceylon cinnamon is sweet, subtle, and incredibly aromatic. It adds a warm complexity without overpowering the dish.
- Goraka (Garcinia Cambogia) or Tamarind: This is a crucial secret ingredient. Goraka adds a sharp, fruity sourness that cuts through the richness of the chicken fat and coconut milk, while also helping to tenderize the meat.
- Fresh Curry Leaves (Karapincha) & Pandan Leaves (Rampe): These two are non-negotiable. They are fried in the oil at the very beginning to release a sweet, herbaceous aroma that forms the base layer of the entire curry.
2. Ingredients You Will Need
For the Marinade:
- 1 kg Chicken (Cut into medium pieces, bone-in is highly recommended for maximum flavor)
- 1.5 tablespoons Sri Lankan Roasted Curry Powder
- 1 tablespoon Kashmiri Chili Powder (For that vibrant red color)
- 1 tablespoon Unroasted Chili Flakes (For the heat)
- 1/2 teaspoon Turmeric Powder
- 1 tablespoon Ginger-Garlic Paste (Freshly crushed)
- 1 tablespoon Vinegar or Lime Juice
- 1 teaspoon Salt
For the Curry Base:
- 3 tablespoons Coconut Oil (Traditional) or Vegetable Oil
- 1 large Red Onion (Finely chopped)
- 2-3 Green Chilies (Slit down the middle)
- A sprig of fresh Curry Leaves
- A 2-inch piece of Pandan Leaf (Rampe)
- 1-inch piece of Ceylon Cinnamon bark
- 3-4 Green Cardamom pods (Crushed)
- 2-3 Cloves
- 1 small piece of Goraka (Soaked in warm water) or 1 teaspoon of tamarind paste
- 1 cup Thick Coconut Milk (Mitikiri)
- 1/2 cup Thin Coconut Milk or Water (Diyakiri)
3. Step-by-Step Cooking Guide
Step 1: The Golden Marinade
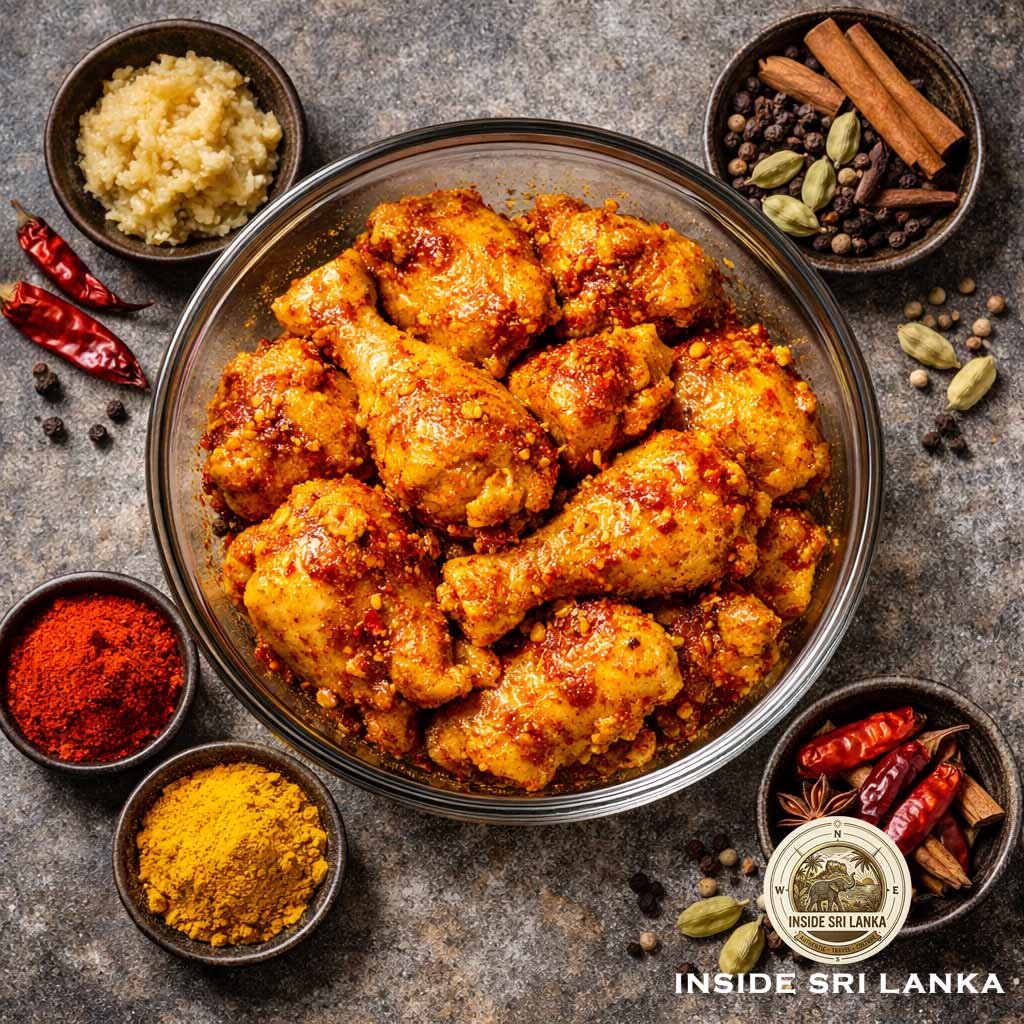
Place your washed and drained chicken pieces into a large mixing bowl. Add all the ingredients listed under the marinade section. Using your hands, thoroughly rub the spices into the meat, ensuring every single piece is well coated.
Cover the bowl and let it sit on your counter for at least 30 to 45 minutes. If you have time, leaving it in the fridge overnight is even better. Marinating allows the acids in the vinegar and the heat of the spices to penetrate deep into the bones, ensuring your chicken isn’t bland on the inside.
Step 2: Tempering the Aromatics (The Woggering)

Heat the coconut oil in a deep, heavy-bottomed clay pot (walan) or a deep pan over medium heat. Once the oil is hot, add the cinnamon stick, crushed cardamoms, and cloves. Let them sizzle for 10 seconds to infuse the oil.
Next, toss in the chopped onions, green chilies, rampe, and karapincha. Fry this mixture until the onions turn translucent and slightly golden around the edges. The smell inside your kitchen at this exact moment will be absolutely heavenly.
Step 3: Searing the Chicken
Add the marinated chicken pieces directly into the sizzling onion and herb mixture. Turn the heat up to high and stir the chicken continuously for about 5 to 7 minutes.
This process is called searing. It locks the juices inside the meat and allows the raw spices on the chicken coat to toast beautifully against the hot bottom of the pot. Keep stirring until the outside of the chicken changes color and looks firm.
Step 4: The Slow Simmer
Lower the heat back to medium-low. Add the piece of soaked goraka along with half a cup of thin coconut milk (or water). Give everything a good mix, scraping up any delicious browned bits stuck to the bottom of the pot.
Cover the pot with its lid and let it simmer gently for about 15 to 20 minutes. The chicken will release its own natural juices during this time. Stir occasionally to make sure nothing burns. By the end of this step, the meat should be completely tender, and the liquid should have reduced into a rich, dark red sauce.
Step 5: The Velvet Touch (Coconut Milk)
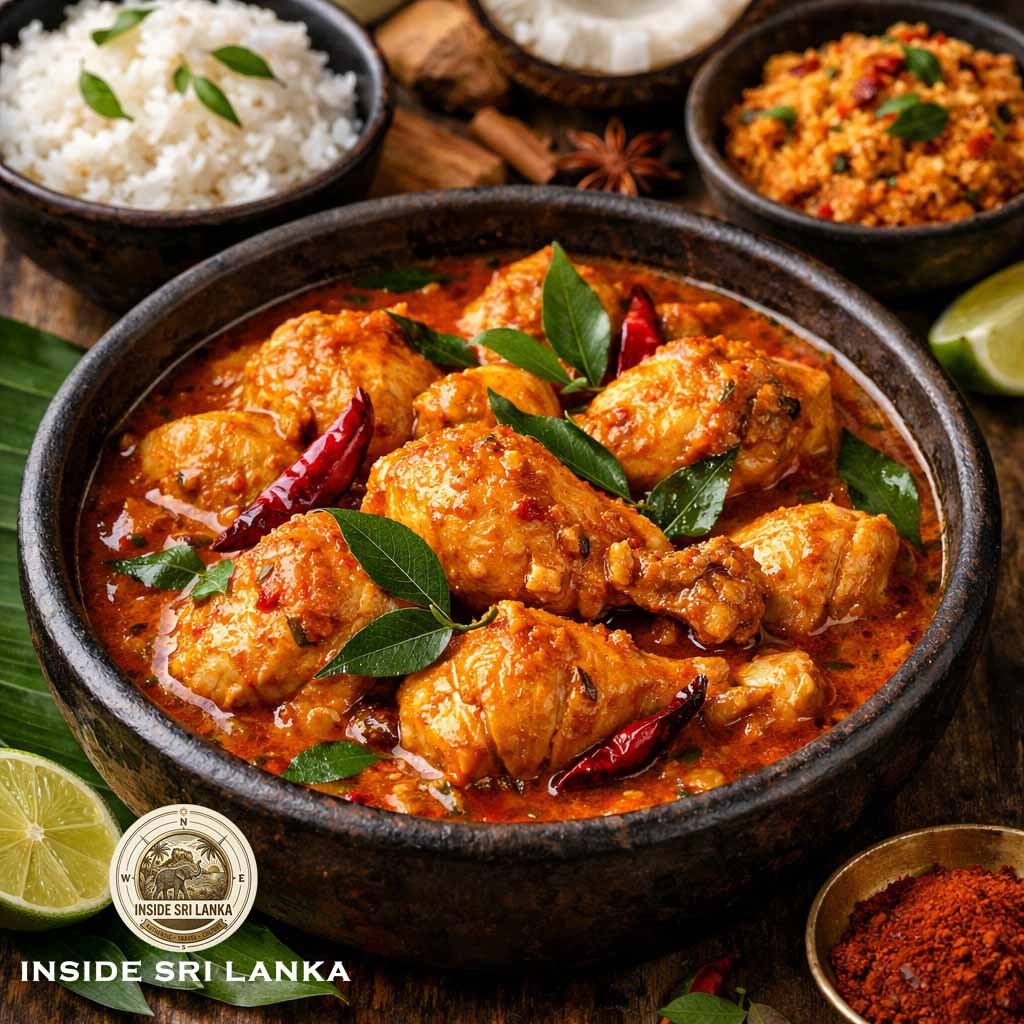
Remove the lid and pour in the thick coconut milk. Reduce the heat to low. This is important: do not let the curry boil rapidly after adding the thick coconut milk, or the milk might split and turn oily.
Stir gently and let the curry simmer uncovered for another 5 to 8 minutes. Watch as the bright white coconut milk blends with the fiery red spices, turning the gravy into a beautiful, silky, dark orange masterpiece. Taste the gravy and add a pinch of salt if needed. Once you see a thin layer of red oil separating and floating beautifully on the surface, turn off the stove.
4. Pro-Tips for the Ultimate Flavor Boost
- The Clay Pot Advantage: If you can get your hands on a traditional Sri Lankan clay pot (Mati Walanda), use it. Cooking chicken in clay allows the heat to distribute evenly and retains the moisture, resulting in incredibly tender meat and a richer flavor profile.
- Keep the Bones: Avoid using boneless chicken breasts for this recipe. Chicken breasts dry out very quickly and do not contribute to the gravy. The marrow inside the bones dissolves into the sauce during the simmer, which is what gives the curry its deep, soul-satisfying body.
- The Next-Day Magic: Here is an undeniable truth known to every Sri Lankan: chicken curry always tastes a hundred times better the next day. As the curry sits overnight, the meat continues to absorb the gravy, and the sharp spices mellow down into a deep, harmonious rich flavor.
Conclusion: Bringing the Island Home
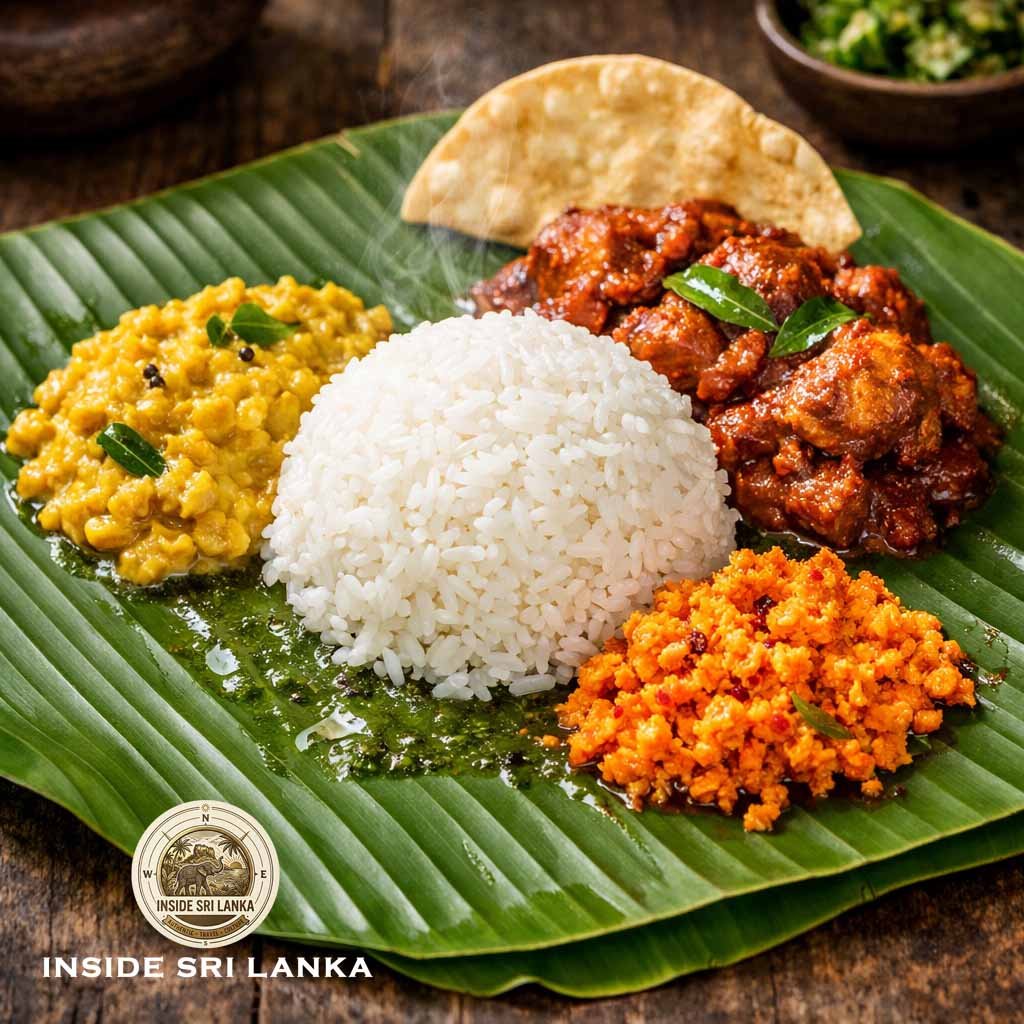
Serving this curry is an art form in itself. Pile a generous scoop of steaming hot white rice (preferably Samba or Kekulu rice) onto a plate, place a couple of pieces of this succulent chicken on top, and drench the rice in that rich, spicy coconut gravy. Pair it with a simple dhal curry and a refreshing coconut sambol (Pol Sambola), and you have the absolute pinnacle of Sri Lankan comfort food.
Whether you are trying to recreate the tastes of your travels or introducing your family to the bold flavors of the Indian Ocean, this recipe brings an authentic piece of our island culture directly into your home. Pack your pot with patience, fire up your stove, and get ready to enjoy the ultimate comfort meal. Happy cooking!